The first time you start Voyager after installation, the Setup Wizard appears.

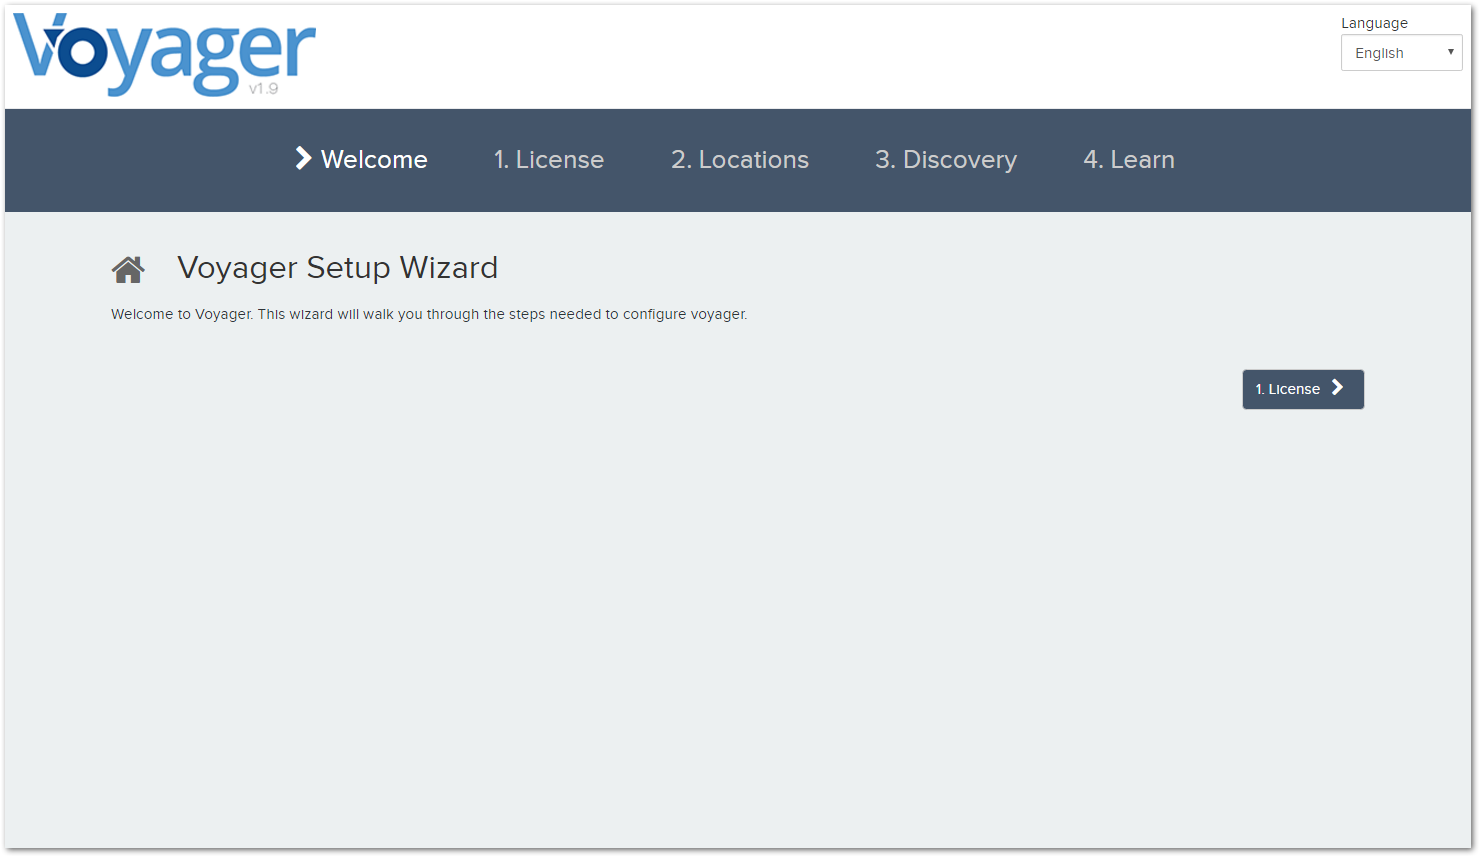
Click License to begin the setup process.
Step 1 - Enter your License
Enter your license and click Install License. Voyager will display a confirmation message once you've entered a valid license.

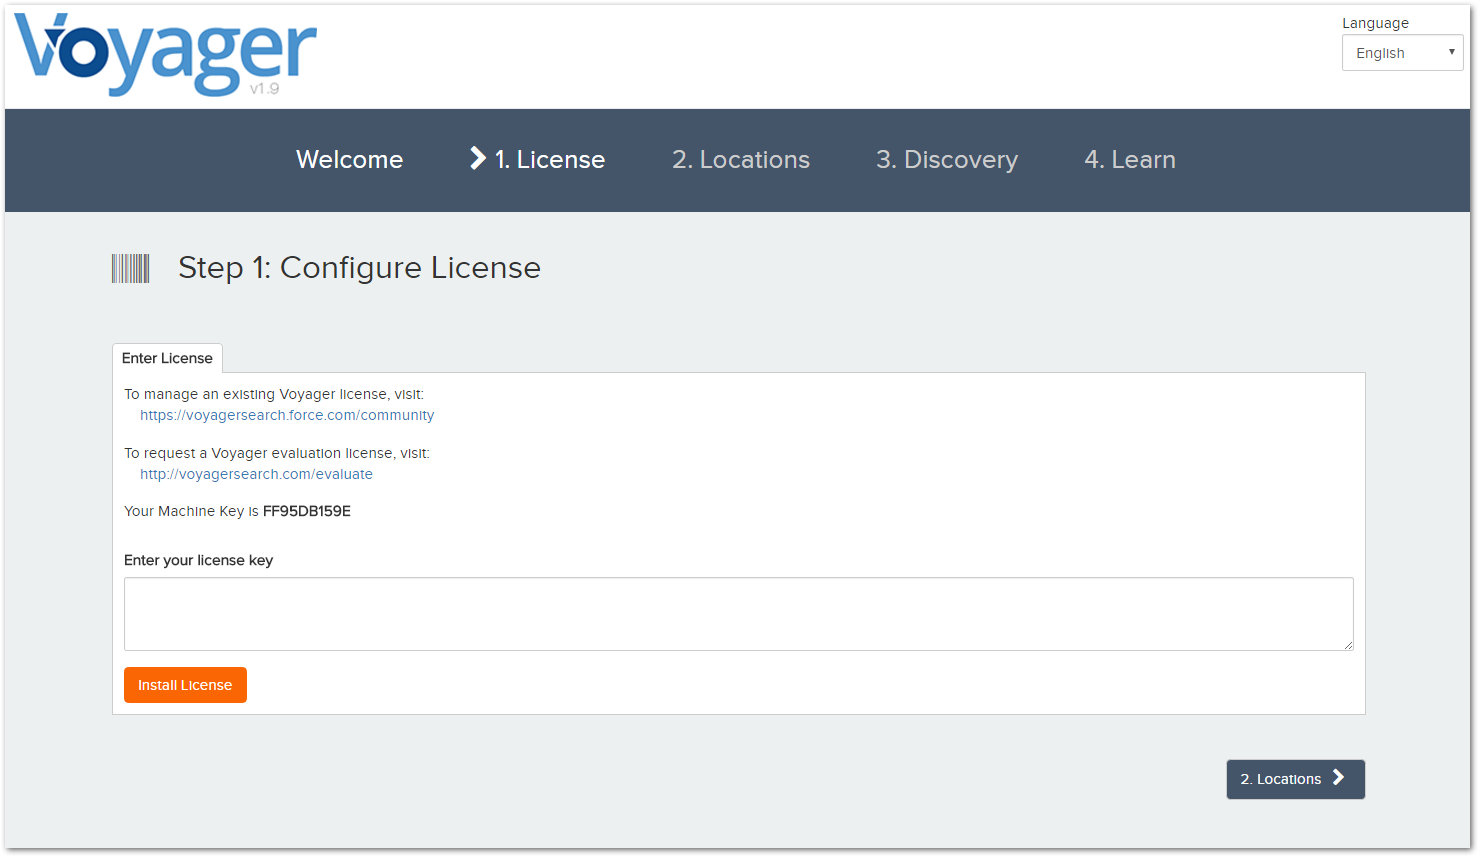
You can also manage or request licenses here.
Click Locations to move on to the next step.
Step 2 - Configure Discovery Locations
After you enter your license, the next step is to add folder locations for Voyager to search.

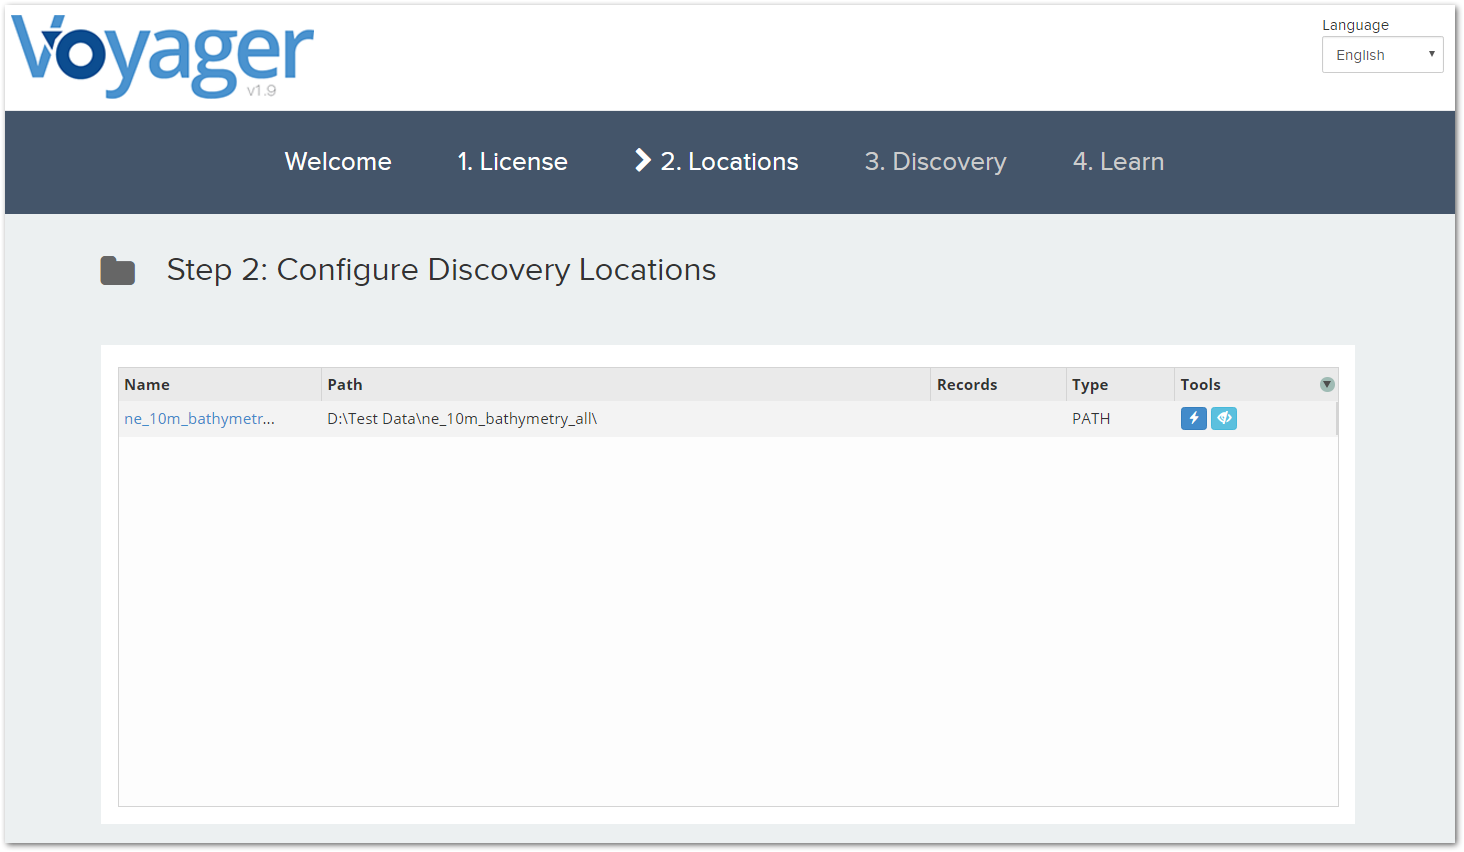
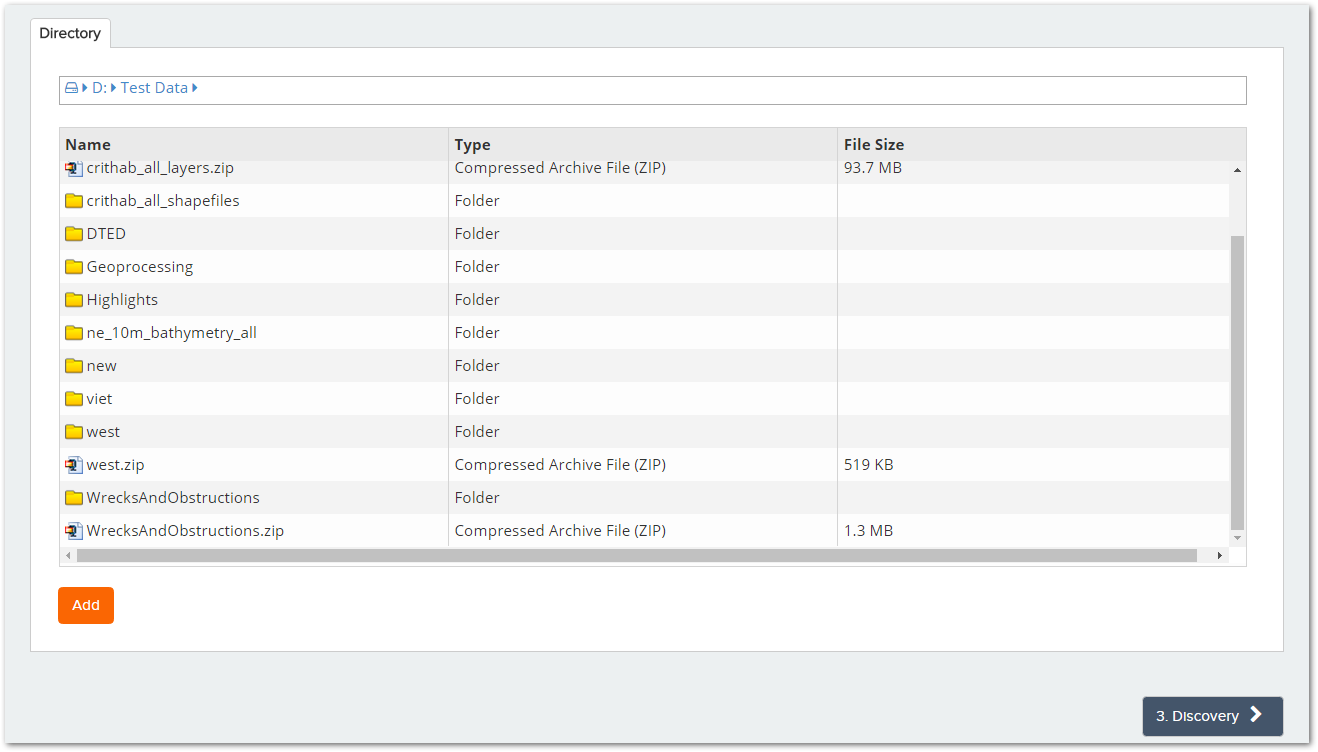
Select a folder containing your data and click Add to add it to the Discovery Locations.

Click Discovery to move on to the next step.
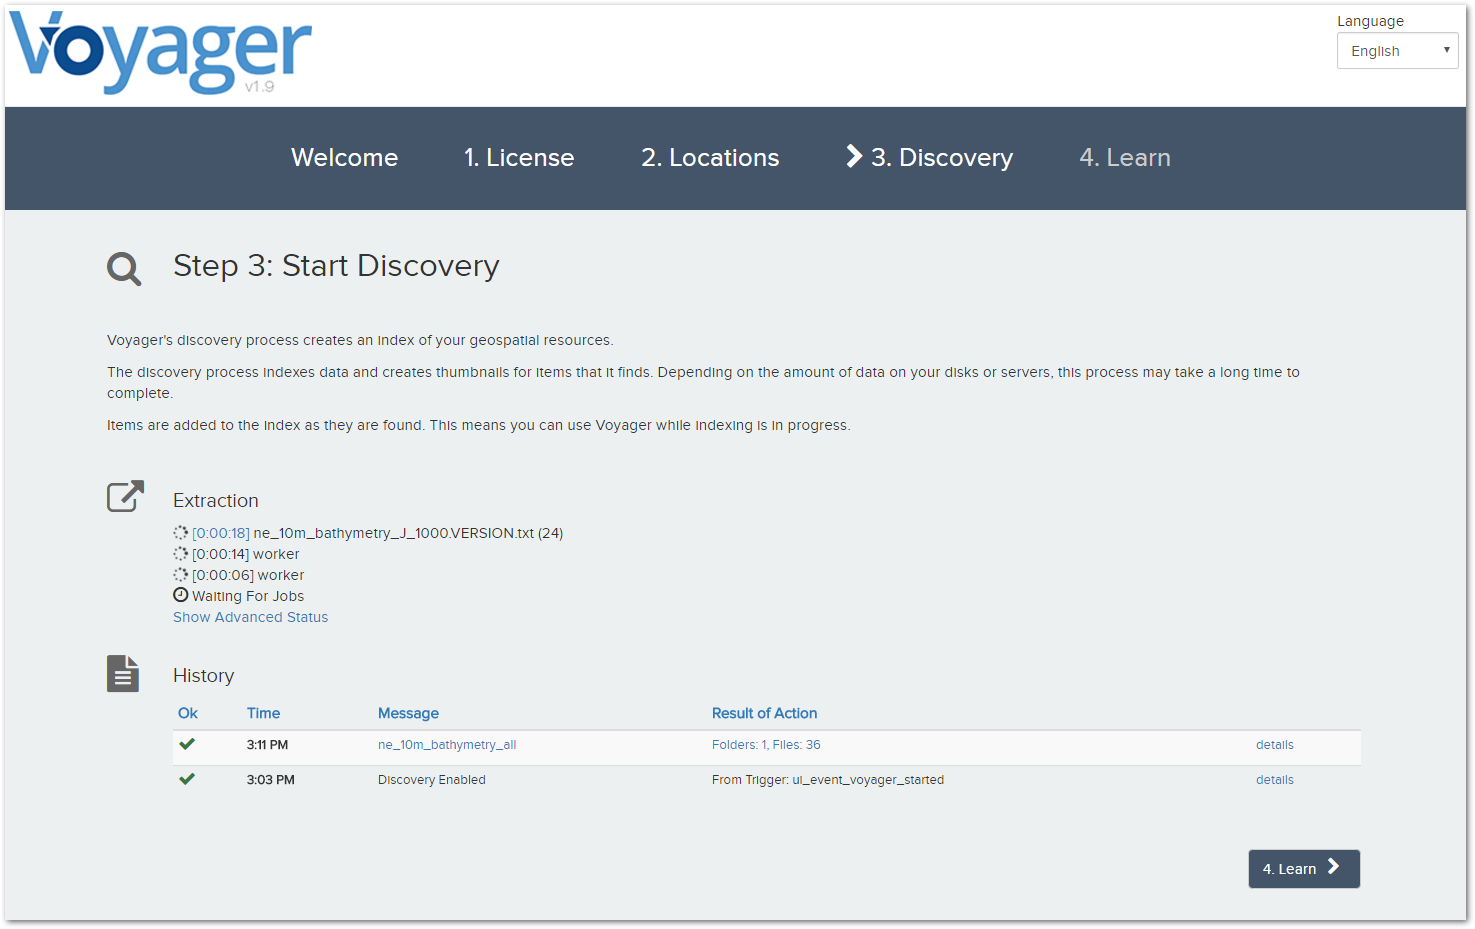
Step 3 - Start Discovery
After you've entered one or more discovery locations, Voyager will begin to scan for data to index.

Click Learn to move on to the next step.
Step 4 - Learn more about Voyager
The initial configuration is now complete!
Click Next to start using Voyager and see your initial search results